Please READ EVERYTHING, INCLUDING FULL INSTALLATION NOTES, before downloading or asking questions.
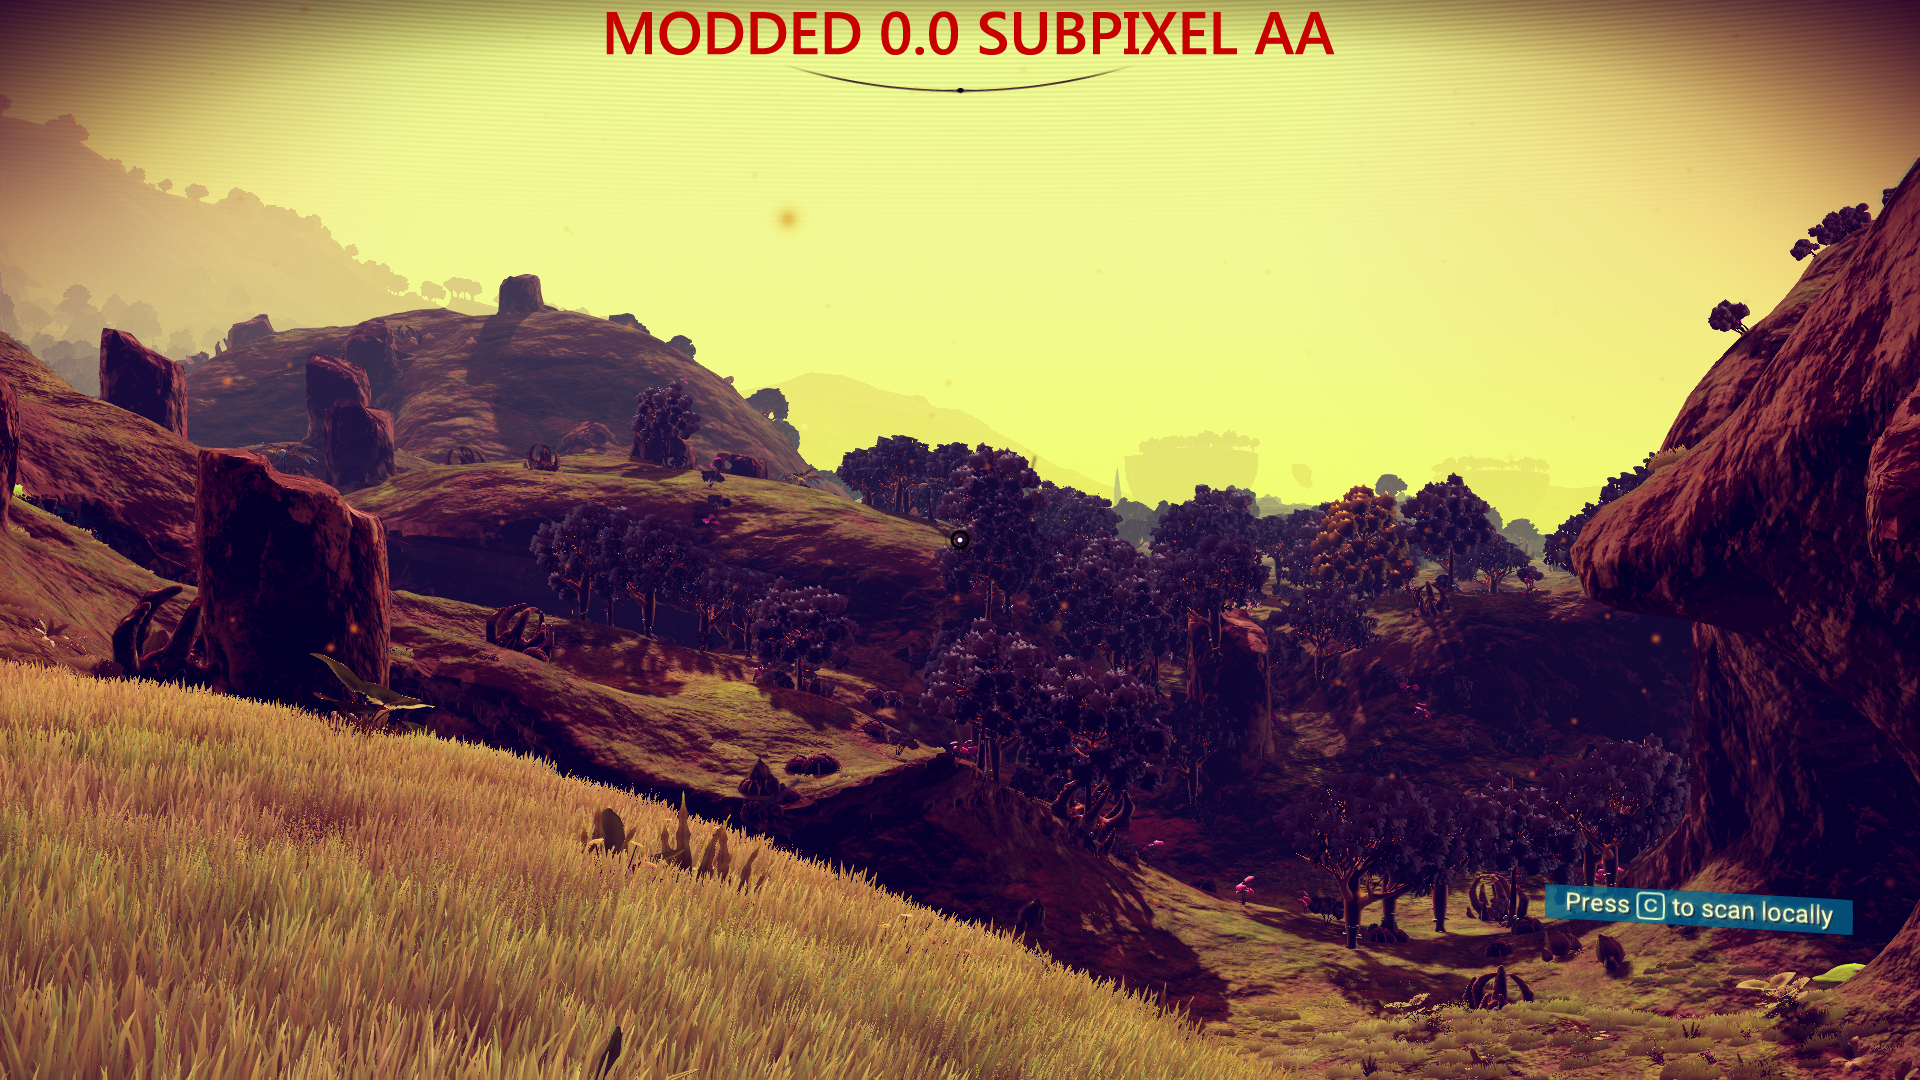
CLICK HERE to open Flickr Album with 146 high resolution before and after screenshots. It’s really hard to see the difference in the tiny thumbnails on this site.
If the screenshots look REALLY dark to you, or if you install the ReShade and it’s REALLY dark, it’s because your monitor isn’t calibrated properly. The look of this ReShade is heavily dependent on your monitor’s brightness and contrast being properly calibrated. If you don’t know how to calibrate your monitor, here is a link showing you how: How To Calibrate Your Monitor on Windows 10
Having said that, it is suppose to be a little darker in general and nights are suppose to be much darker with this ReShade. You will absolutely need to use your flashlight at night and in most caves. You can see for yourself in some of the before and after screenshots.
Before calibrating, if you’re using an Nvidia card, open Nvidia control panel, go to “change resolution”, scroll down, click on “Use Nvidia color settings”, change to the following settings and click “Apply” at the bottom.
Desktop color depth – Highest(32 bit), Output color depth – Highest number available, Output color format – RGB, Output dynamic range – FULL
Okay, so, like my previous ReShades, I really just made this for myself to suit my own personal taste and I’m taking the time to upload here just in case anyone else would like to use it. If you hate the way it looks, you really don’t need to tell me. I don’t care.
My primary goal with this ReShade is to give the game a more realistic, cinematic look while being as lightweight as possible. I average about 5 fps less with this ReShade, although some areas I do see up to 10 fps less. This number will vary based on your hardware.
You can use whatever graphics settings you want. I recommend that your gamma be turned up to 128.
I’m using the following visual mods in my screenshots:
Clean Screen
HD Clouds
No Blinding Lights
No High Clouds
No Space Dust
No Space Lines
Nofade FPS Booster
Peaceful Warp
Space Dream (standard version)
True Clouds
You don’t have to use any of these mods. This ReShade works and looks nice with the vanilla game as well, but your game may look slightly different from my screenshots if you’re not using these mods.
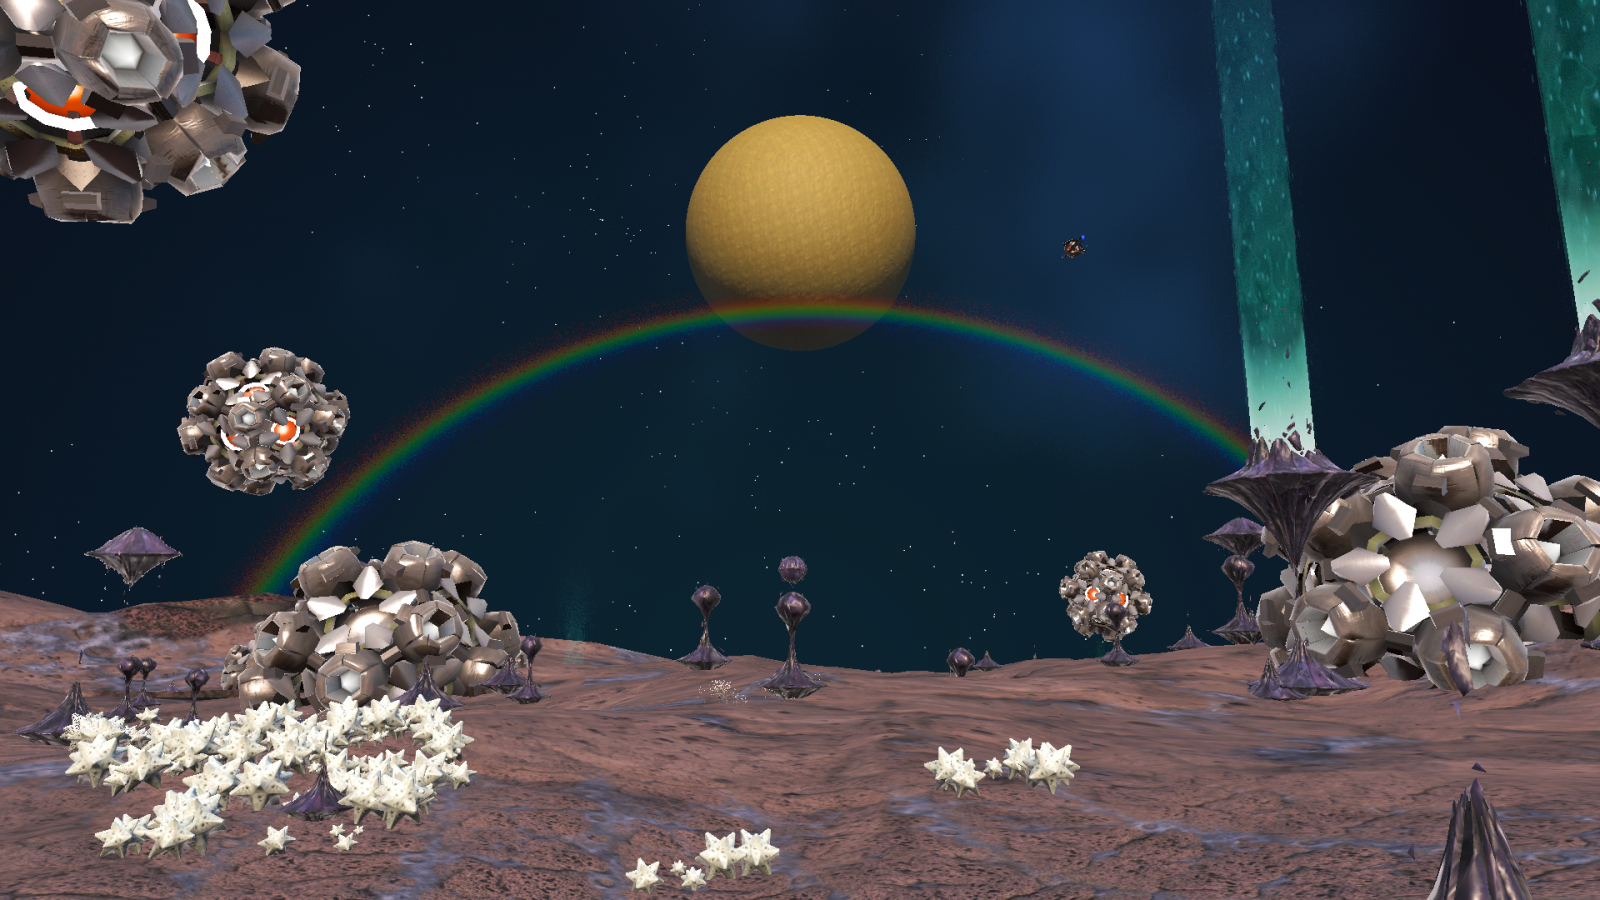
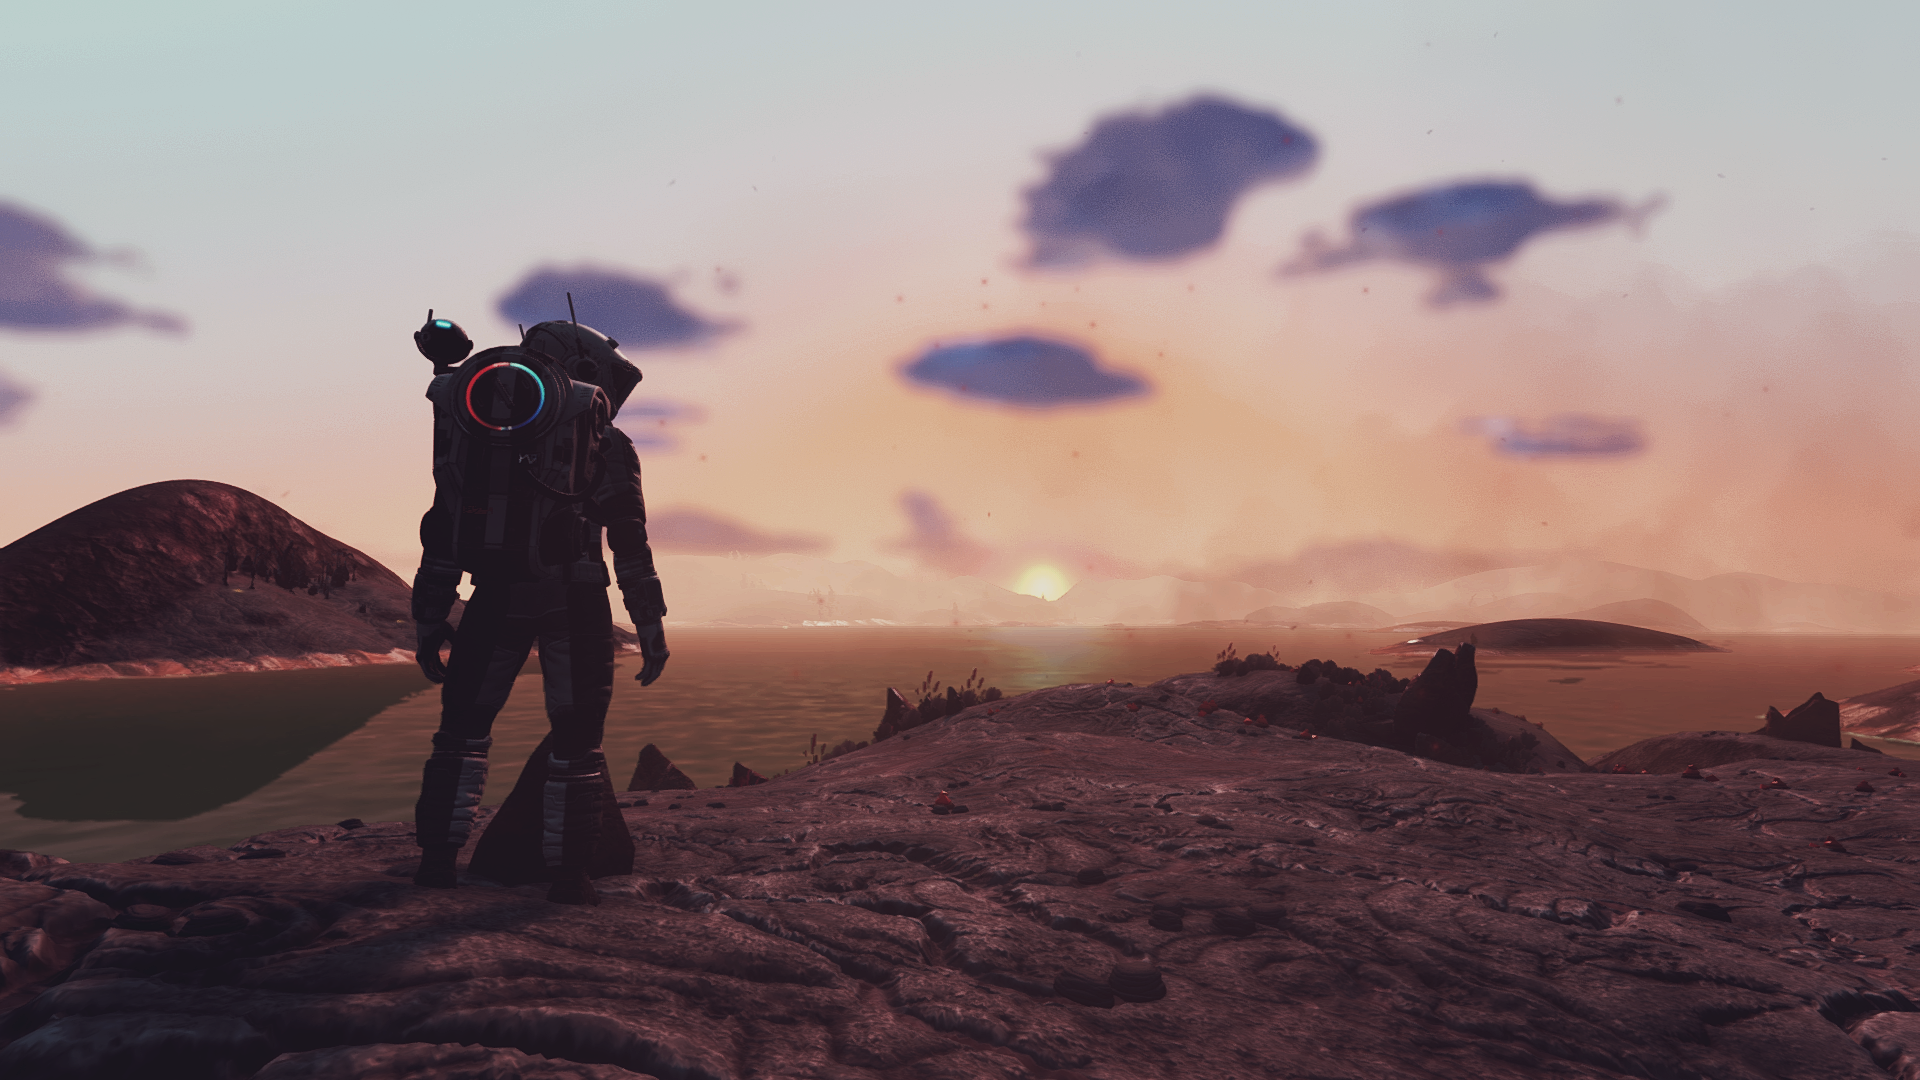
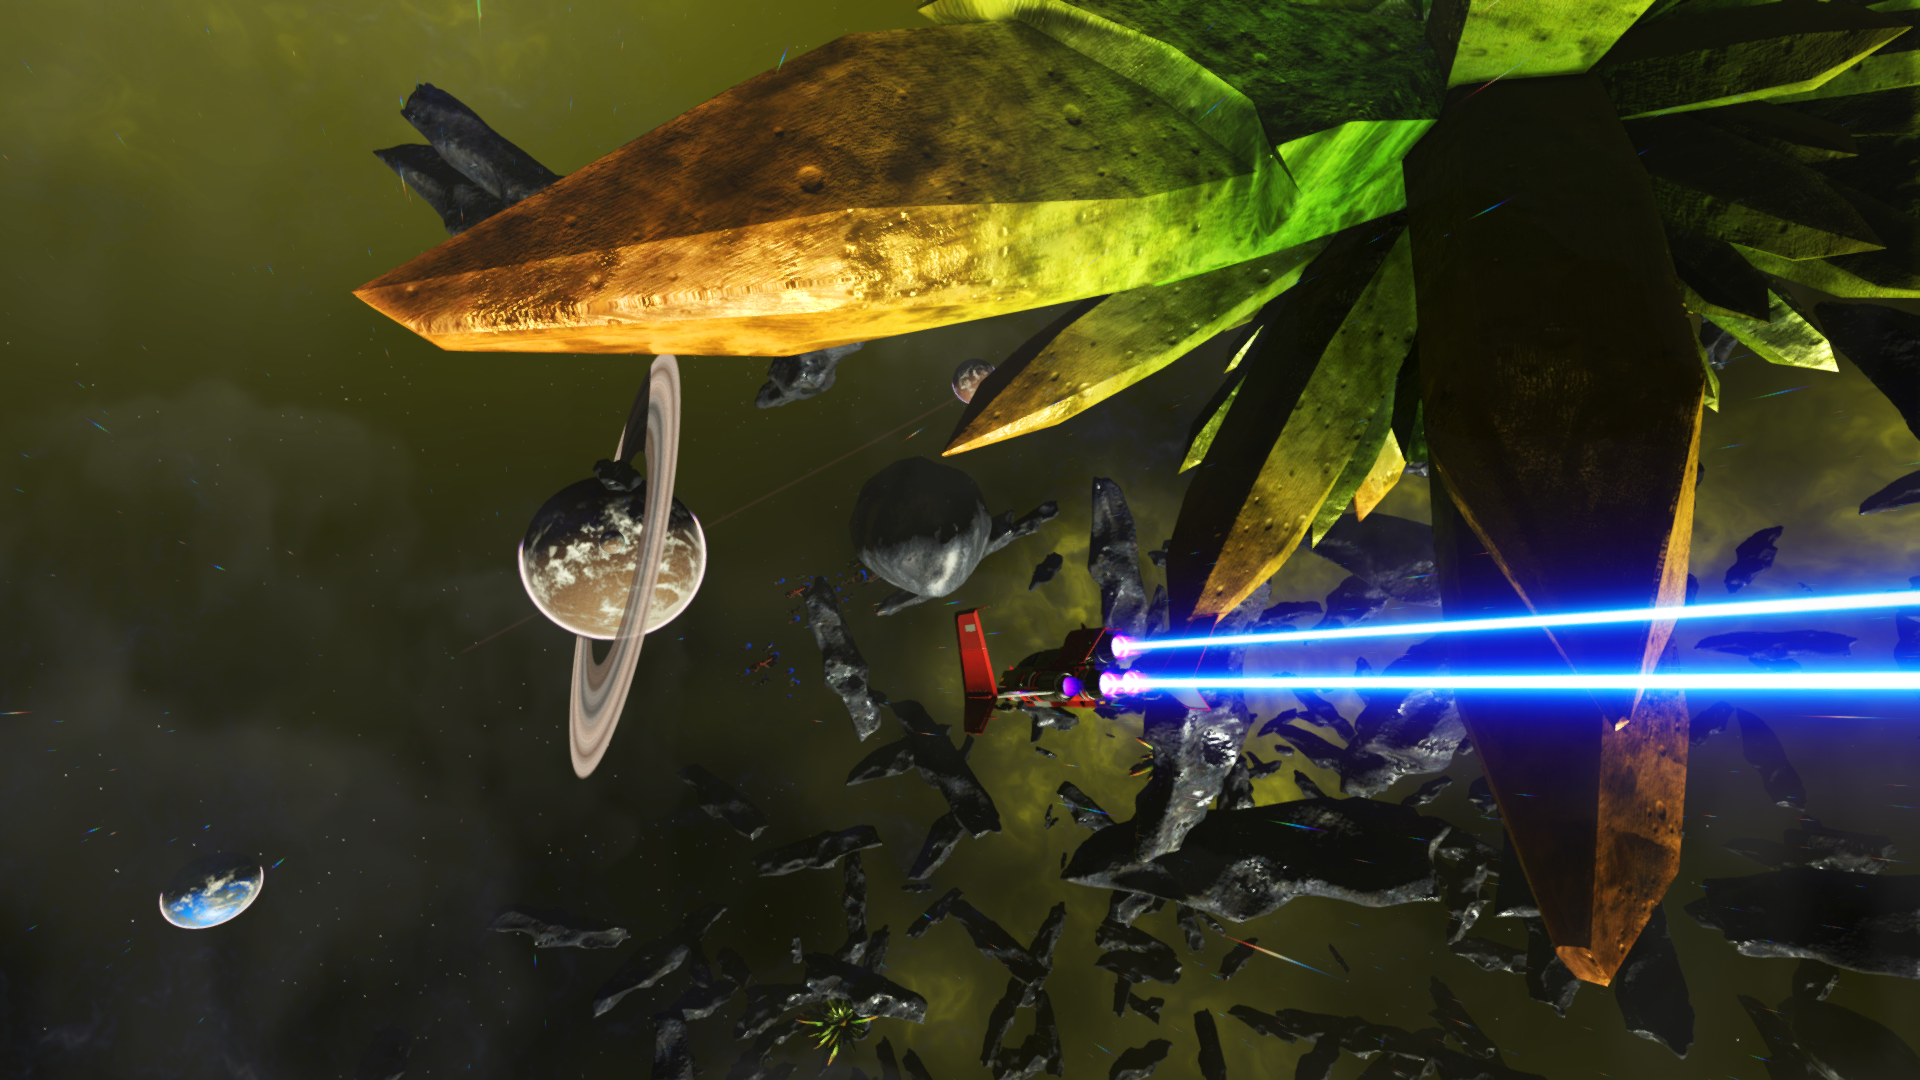
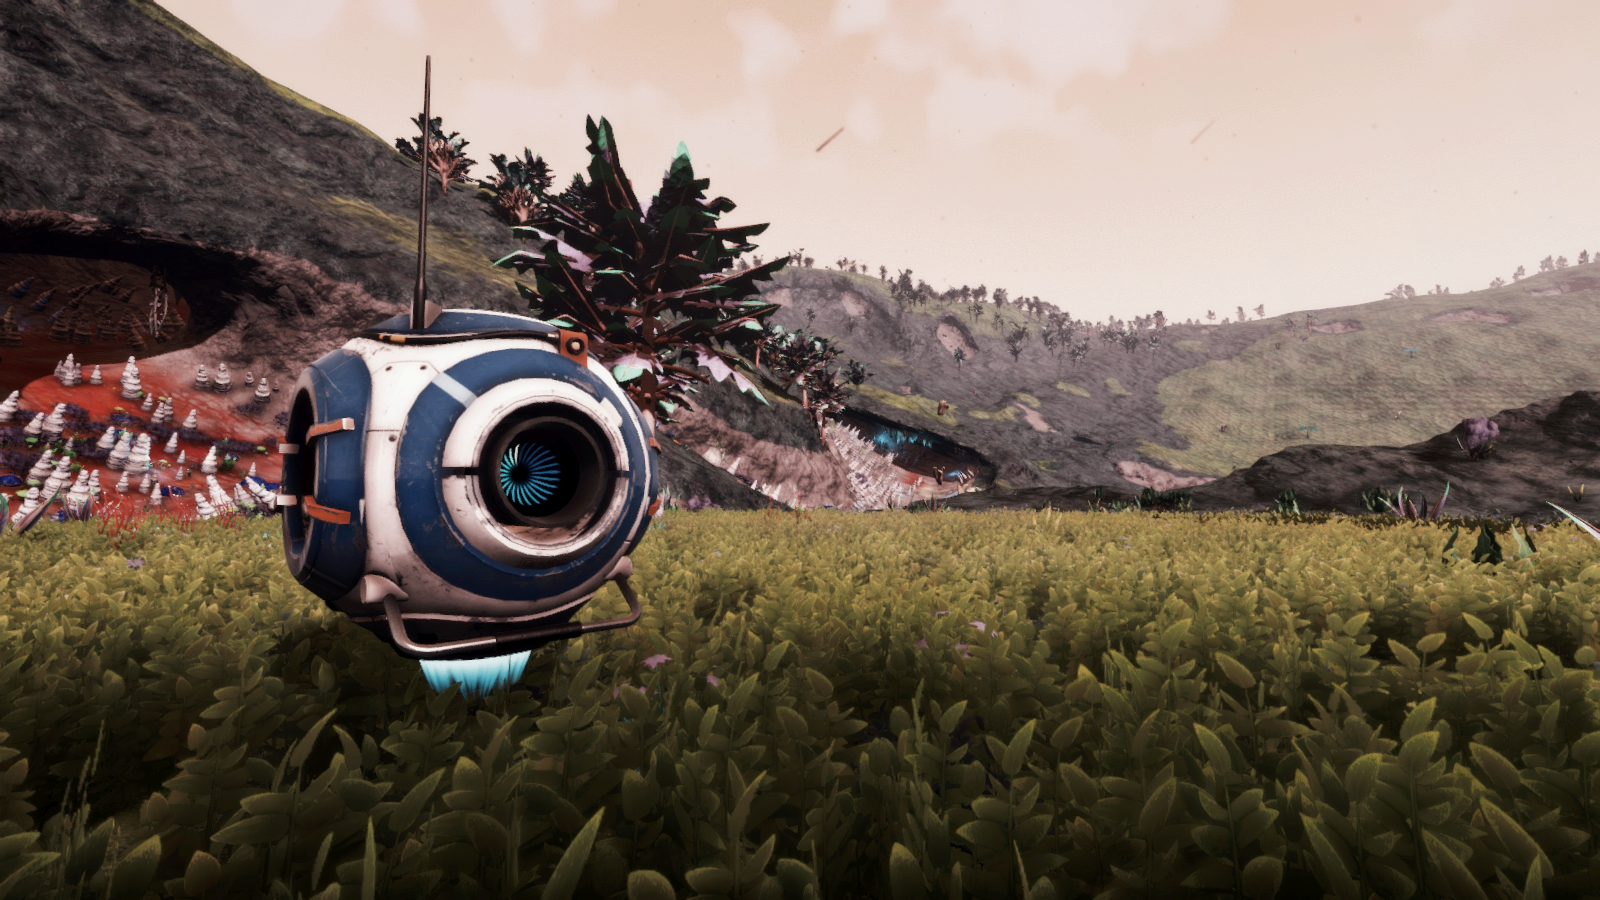
What this ReShade does: Sharpens Textures, Reduces over-saturated lighting and colors, resulting in more realistic, less plastic looking textures with more detail and more realistic lighting. Overall, this ReShade brings a clean, clear, crisp, modern sci-fi cinematic look to the game. The screenshots will give you a good idea, but you really have to see it in motion for the full effect. I can’t stress this enough, you really do have to see it in motion to get the full idea of the difference it makes.
This ReShade dramatically changes the look and feel of the game. If that’s not what you’re looking for, you won’t like it. If you’re looking for a more subtle change, you might want to give my last one a try. It still works fine. You can find that HERE.
You can hit the “home” key in game to open the ReShade configuration and turn off any individual fx that you don’t want or if you just want to experiment. Hit the numpad+ key to toggle the entire thing on and off while playing. Hit numpad- to take a screenshot. You can change where screenshots are saved in the configuration tab after hitting shift + F2.
BONUS PERFORMANCE NOTES:
After an absolute ton of experimenting with different settings in the TkGraphicsSettings file found in No Man’s Sky\Binaries\SETTINGS, these exact settings have given me the best performance I’ve ever had in this game. Solid 60+ in space and in stations and 35 – 60 on planets depending on the planet. More importantly, the game is silky smooth with absolutely no stuttering or freezing ever, which makes the dips down to 35 feel and look just as good as 60, and that’s WITH this ReShade running. Without it, I get around 5-10 fps more. So, even if you have no interest in using my ReShade, you may want to read through this if you’re having trouble getting good performance.
My build is an i7 3770, GTX 1050Ti 4GB, 16GB DDR3 RAM. Obviously, I can’t guarantee this is the best setup for your system, but can’t hurt to try it even if you aren’t using this ReShade.
NumHighThreads needs to be the number of threads on your cpu and NumLowThreads needs to be the number of physical cores on your CPU. This is one you can play around with a little bit because people are reporting vastly different results when experimenting with these numbers. Basically, one of them needs to be physical cores and one of them needs to be total threads, you can try it both ways to see which works best for you. Alternatively, some have reported that setting both to zero gave them the best performance. THIS IS THE SINGLE MOST IMPORTANT SETTING YOU NEED TO GET RIGHT. Literally made a 20 fps difference once I changed it from the default settings.
“FullScreen” value=”true”
“Borderless” value=”false”
“UseScreenResolution” value=”true”
“ResolutionWidth” value=”1920″
“ResolutionHeight” value=”1080″
“VsyncEx” value=”Off”
“GSync” value=”false”
“ShadowDetail” value=”Normal”
“TextureDetail” value=”Ultra”
“GenerationDetail” value=”High”
“ReflectionsQuality” value=”Normal”
“AntiAliasingEx2″ value=”TAA_FXAA”
“MotionBlurQuality” value=”Off”
“TerrainQualityEx” value=”High”
“MotionBlurStrength” value=”0.000000″
“AnisotropyLevel” value=”16″
“FoVOnFoot” value=”100.000000″
“FoVInShip” value=”100.000000″
“Brightness” value=”128″
“MaxframeRate” value=”160″
“NumHighThreads” value=”8″
“NumLowThreads” value=”4″
“TextureStreamingEx” value=”On”
“TexturePageSizeKb” value=”32″ – (You may have to add this line. The full code to add is: <Property name=”TexturePageSizeKb” value=”32″ />
“ShowRequirementsWarnings” value=”true”
“RemoveBaseBuildingRestrictions” value=”false”
“MouseClickSpeedMultiplier” value=”0.500000″
“AmbientOcclusion” value=”HBAO”
“UseTerrainTextureCache” value=”true”
“UseArbSparseTexture” value=”false”
“EnableTessellation” value=”true”
“UseHDR” value=”true”
“UseLightshafts” value=”true”
I also have the following settings changed in Nvidia Inspector:
Maximum pre-rendered frames = 1
Triple buffering = on
Vertical Sync – Force On
Power Management Mode = Prefer Maximum Performance
Shadercache = Off
Multi display/mixed GPU acceleration – Muti display performance mode (put on single display if you only have one monitor)
The next few settings are way down under the “other” section.
Memory Allocation Policy = WKS_MEMORY_ALLOCATION_POLICY_AGGRESSIVE_PRE_ALLOCATION
OpenGL default swap interval fraction = OGL_DEFAULT_SWAP_INTERVAL_FRACTIONAL_ZERO_SCANLINES
OpenGL default swap interval sign = OGL_DEFAULT_SWAP_INTERVAL_SIGN_NEGATIVE
Lastly, I’ve also found that setting the priority for NMS.exe in task manager to realtime seems to make a difference in the smoothness for me.
Again, I can’t promise any of this will change your performance, but I thought I’d post the settings I’m using to get great performance and you can do what you want with the information.